
Upgrading a motorcycle seat with a gel insert is one of the most effective ways to improve riding comfort. Whether you are a professional seat builder or a DIY enthusiast, installing a gel insert can significantly reduce pressure points, absorb vibration, and enhance long-distance riding experience.
In this guide, we will walk you through the step-by-step process of installing a gel insert into a motorcycle seat, along with practical tips to achieve the best results.
Most factory motorcycle seats are made of foam, which may feel comfortable at first but often leads to discomfort during long rides. Foam alone cannot effectively distribute body weight or absorb road shock.
By adding a motorcycle seat gel insert, you can:
This upgrade is widely used by both professional upholstery shops and DIY riders.
Before starting, prepare the following tools and materials:
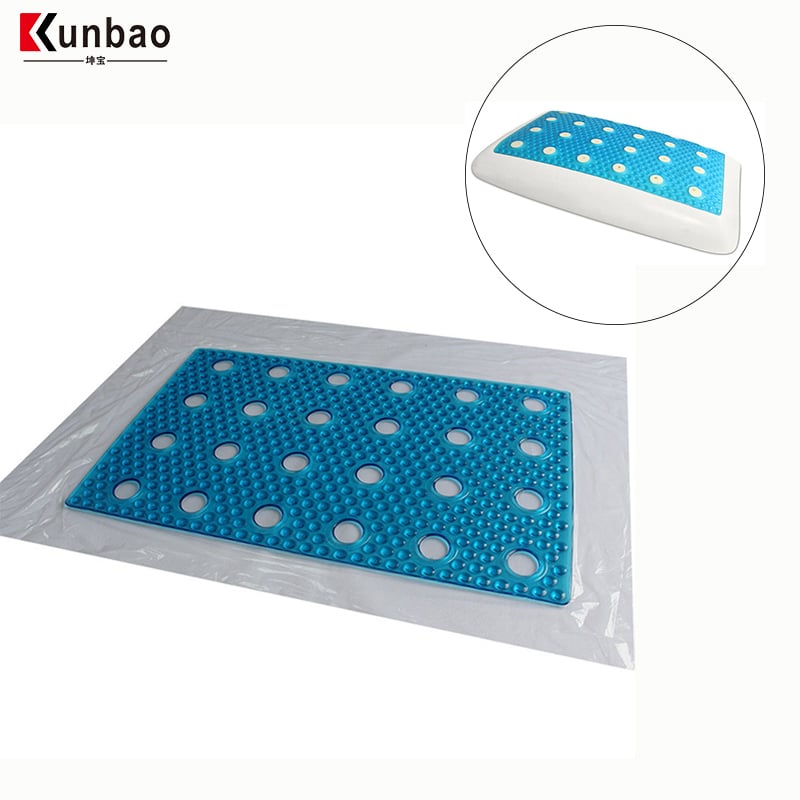
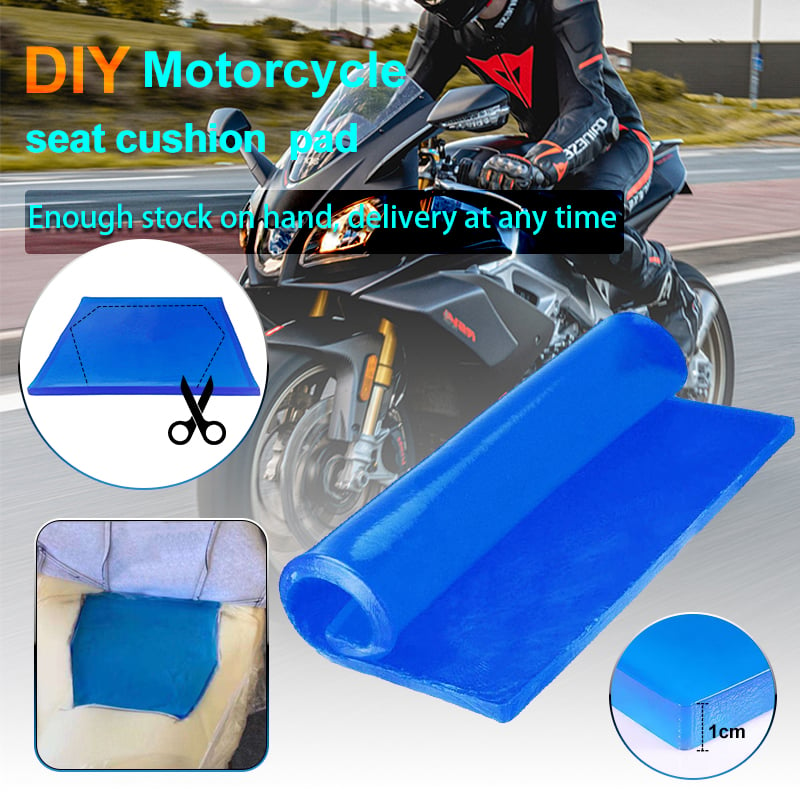
Using a cuttable gel sheet allows you to customize the shape based on your seat design.
Start by removing the seat from the motorcycle. Use a staple remover to carefully detach the seat cover from the base. Take your time to avoid damaging the cover, as it will be reused later.
Sit on the foam base or press it with your hand to identify the main pressure zones. Use a marker to outline the area where the gel insert will be installed.
This is usually the central seating position where most body weight is concentrated.
Using a sharp knife, cut into the foam to create a cavity for the gel insert. The depth should match the thickness of the gel so that the surface remains smooth after installation.
💡 Tip:
Do not cut too deep—this may affect seat stability.
If you are using a cuttable gel sheet, trim it according to the marked area.
Make sure:
This step is crucial for achieving a professional result.
Place the gel insert into the foam cavity. It should sit flush with the surrounding foam surface.
If needed, use a light adhesive spray to keep the gel in place.
Once the gel insert is properly positioned, stretch the seat cover back over the foam.
Use a staple gun to secure the cover evenly around the base. Make sure there are no wrinkles or uneven areas.
Even though the installation is simple, there are a few common mistakes to watch out for:
Avoiding these issues will ensure a more comfortable and professional finish.
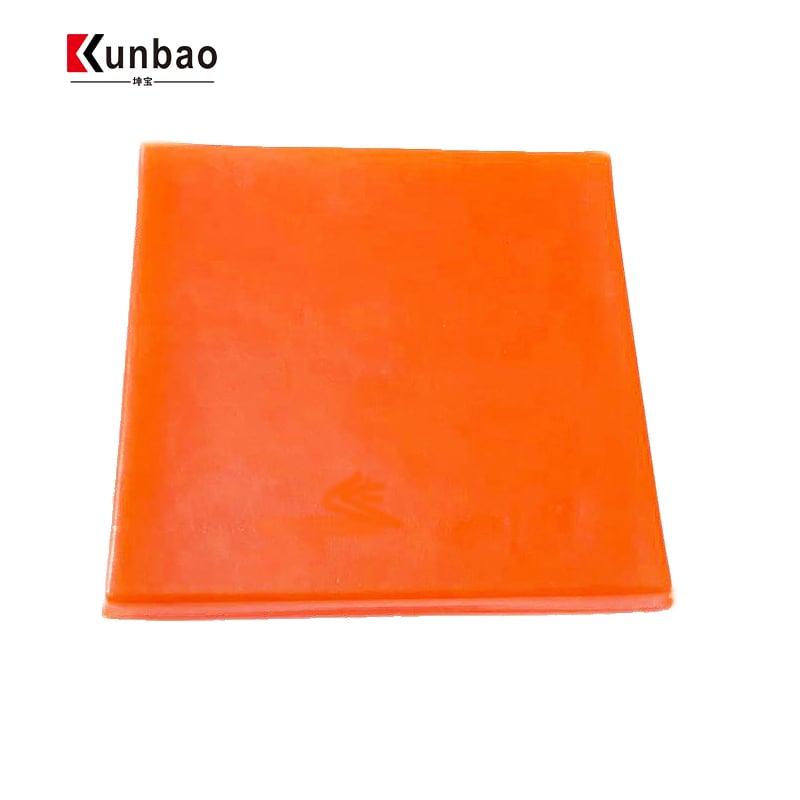
Not all gel materials perform the same. For best results, choose high-quality cooling gel seat pads that offer:
For businesses or bulk users, working with an
OEM gel insert manufacturer allows you to customize size, thickness, and material based on your needs.
Installing a gel insert in a motorcycle seat is a practical and cost-effective way to improve riding comfort. With the right tools and materials, both professionals and DIY users can achieve excellent results.
Whether you are upgrading your own seat or offering seat modification services, using high-quality gel inserts will significantly enhance comfort, durability, and overall riding experience.
 Hot News
2026-04-03
2026-04-15
2026-03-21
2026-04-01
2026-04-10
2026-04-07